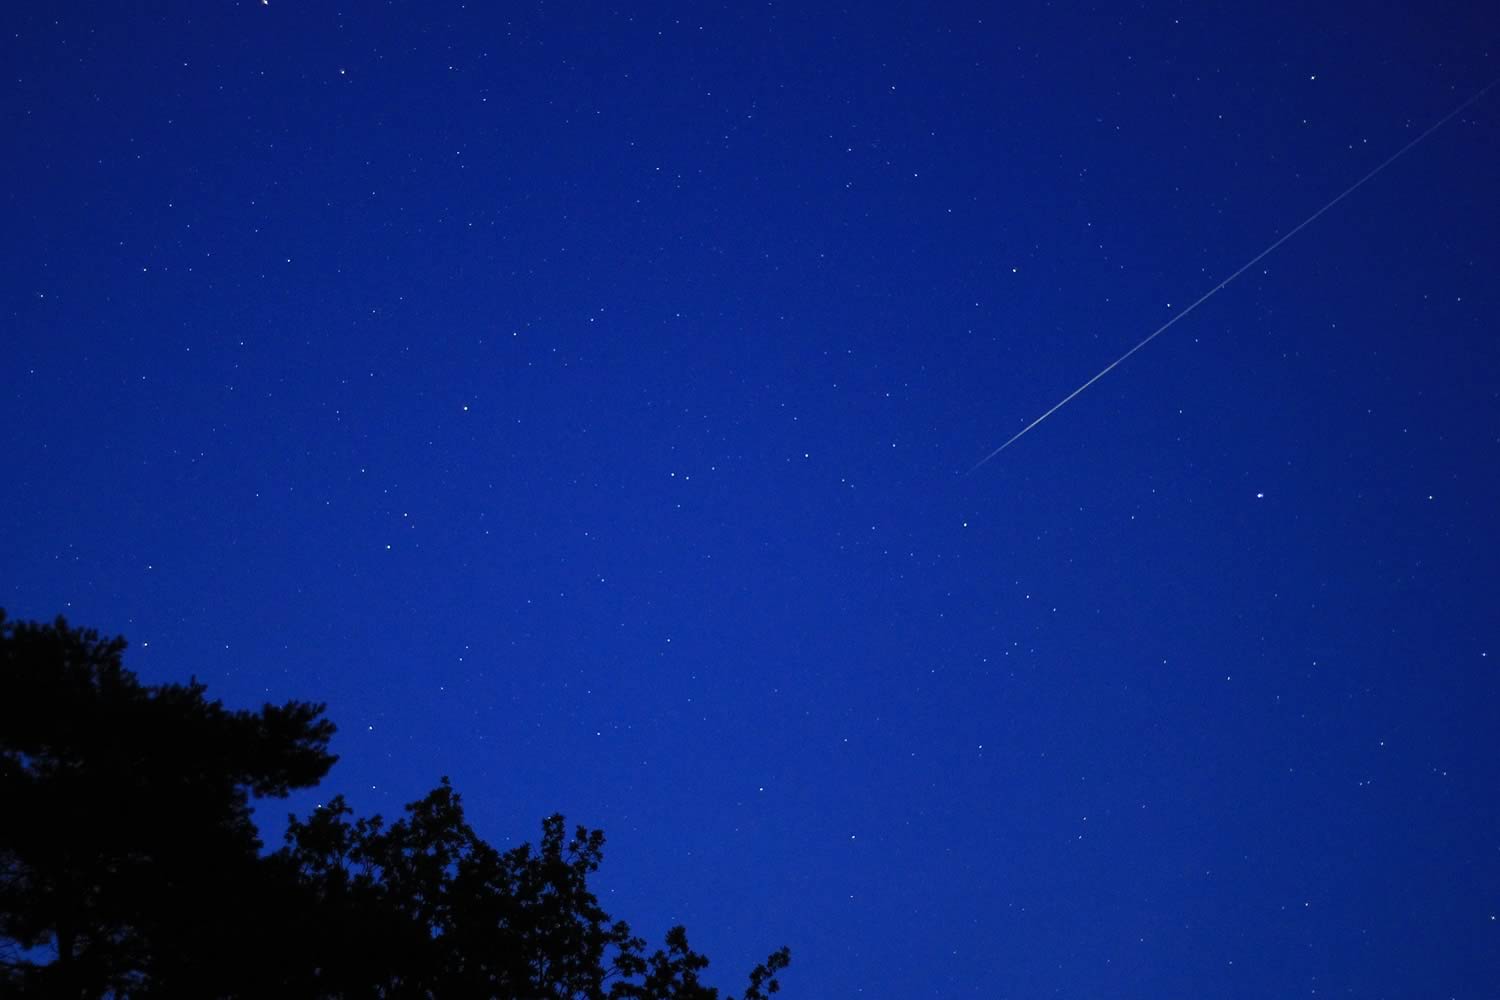


Here’s our guide to help you get a pic of this months Perseid meteor shower created for you by our friend and dedicated volunteer, Wil Cheung from Wil Photography.
The biggest challenge is that they appear very quickly and randomly over the course of the night.
The Perseids are so called because the shooting stars will seem to originate from the constellation Perseus, from experience its not necessary just to focus on the constellation,
try to get a wide field of view, this means if you do have a choice use a wide focal length lens. I.e 14mm, 18mm.
Once you have found a suitable location, yes, a dark site is ideal as low light pollution means it won’t wash some of the fainter meteors out so you’ll see or capture more.
However, you can still capture a few of the brighter ones in the night sky even in a light polluted area so it’s always worth a go even from your garden.
Here are some of my tips on how you could capture them using a camera with the ability to control the settings manually,
A Camera where you can manipulate the settings, its possible nowadays to use Mobile phones as well but Ross from UK Astronomy will cover that at the end.
A Tripod or something to rest your camera on.
An Intervalometer or one built in, saves you sitting there like Ross did clicking 300 pics manually from his phones Bluetooth to the camera for two hours, his thumb ached after.
Set the camera up with a tripod, you will then need to manually focus to infinity with your camera lens. The best way to do this is to take the lens off autofocus, then
using live view on your camera, zoom into a bright star, turn the focussing ring until the star is as small and sharp as possible, your camera lens is now focused properly.
Now adjust your exposure settings, usually, you would have your aperture as wide as possible to let in more light and keeping your iso below 3200 to reduce noise.
You would then have a shutter speed up to 15 seconds per click.
A typical set up would be f2.8 iso 1600 10 seconds.
However, having a one size fits all isn’t possible as every location and lens and camera will be different. The key things to consider with exposure in my experience is
to keep the shutter open for at least 8 seconds.
Faster lenses – wide aperture means you can have the iso even lower – 800 for example.
Using your intervalometer, or the inbuilt one set it up so that your camera just clicks away by itself, saving you from having to keep pressing the shutter every
few seconds for an hour or two, (that’s for you Ross).
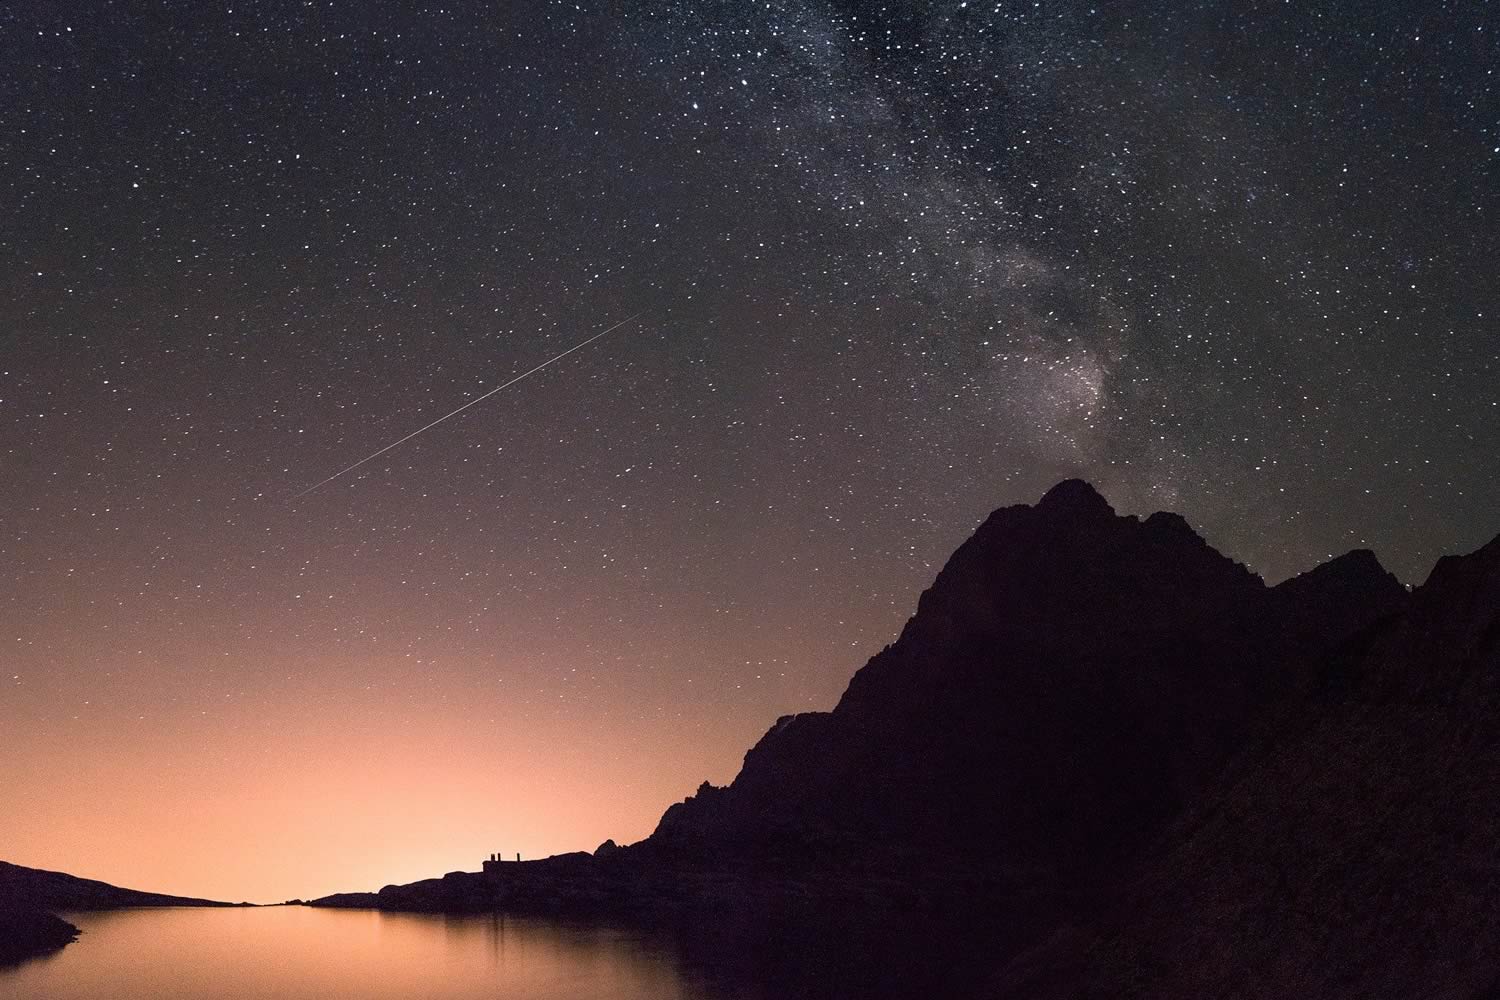
One of the things to think about in astrophotography is consider your composition, having something from the ground helps frame your image, a building, tree for example
often makes the photo more appealing.
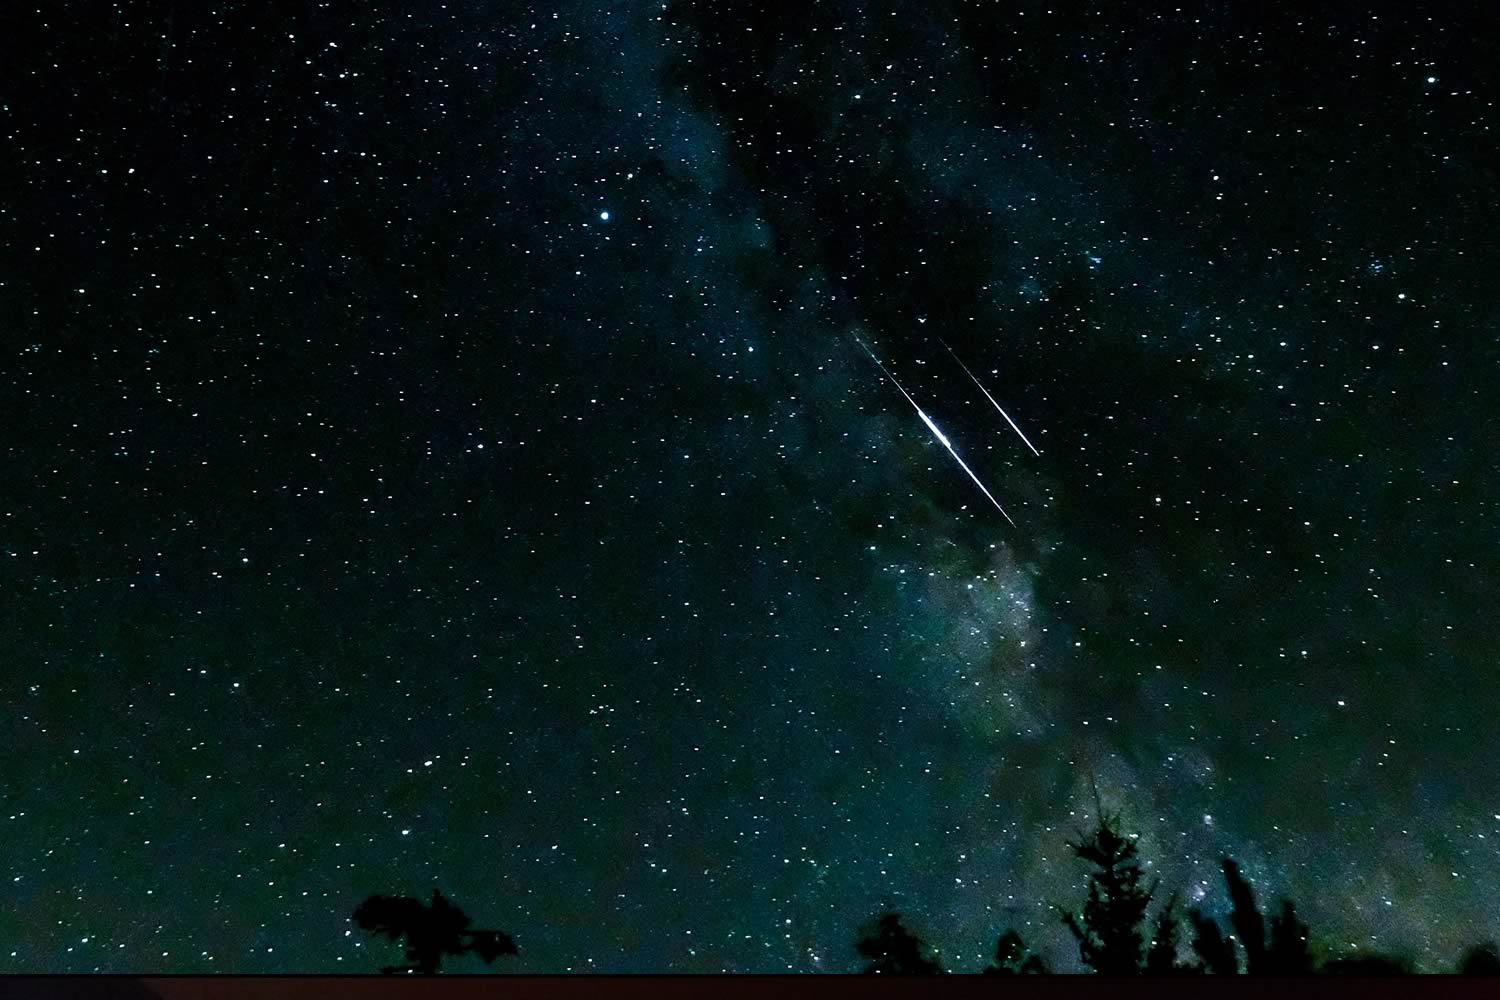
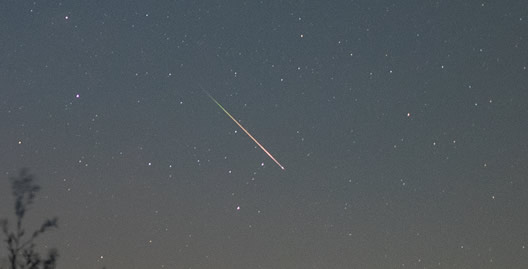
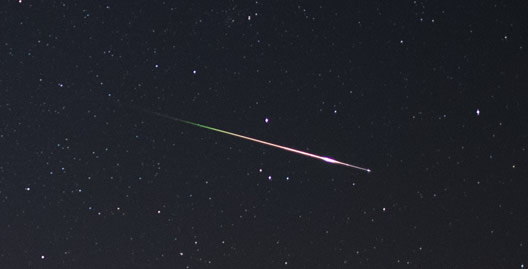
Here’s a pic or two I have managed over the years, Good Luck and Clear Skies!

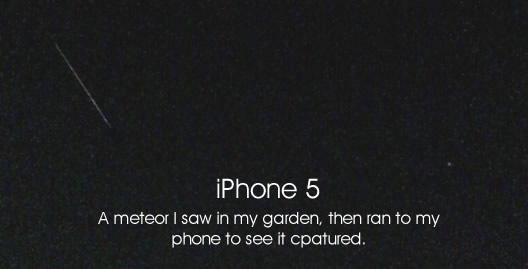
A very quick guide to using your phone to capture meteors by UK Astronomy founder, Ross. (The guy with the sore thumb).
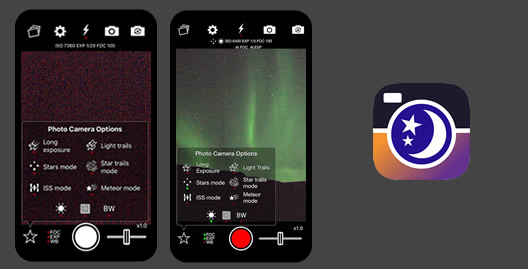
The best way to try and grab a snap of these burning bits of comet is to grab an app like NightCap Camera, as it allows you to play around with the Focus, ISO,
WB and Exposure of your phone allowing you to grab some great pics of the night sky.
But it also has some special functions like long exposure mode, light trails mode, stars mode, ISS mode and yes you guessed it METEOR MODE.
It's really simple like Wil said you can pop it on a tripod or stable surface like a table or the floor, just don’t tread on it, tap the shutter button on the screen and voila.
The phone will automatically start taking pics of the sky doing all the hard work for you, you can then go back check out all the pics deleting any without any meteors.
You can also stop it anytime and move it to face a different direction, if after an episode of The Planets and a cuppa you find none have been captured. This way you can
stay inside or sit out looking up trying to see any for yourself then if your like me, rushing to the phone to see if it captured it.
Also works on iPad, so happy hunting or should I say snapping.
Hope this helps you guys get out and enjoy the skies. #ukastronomy

