
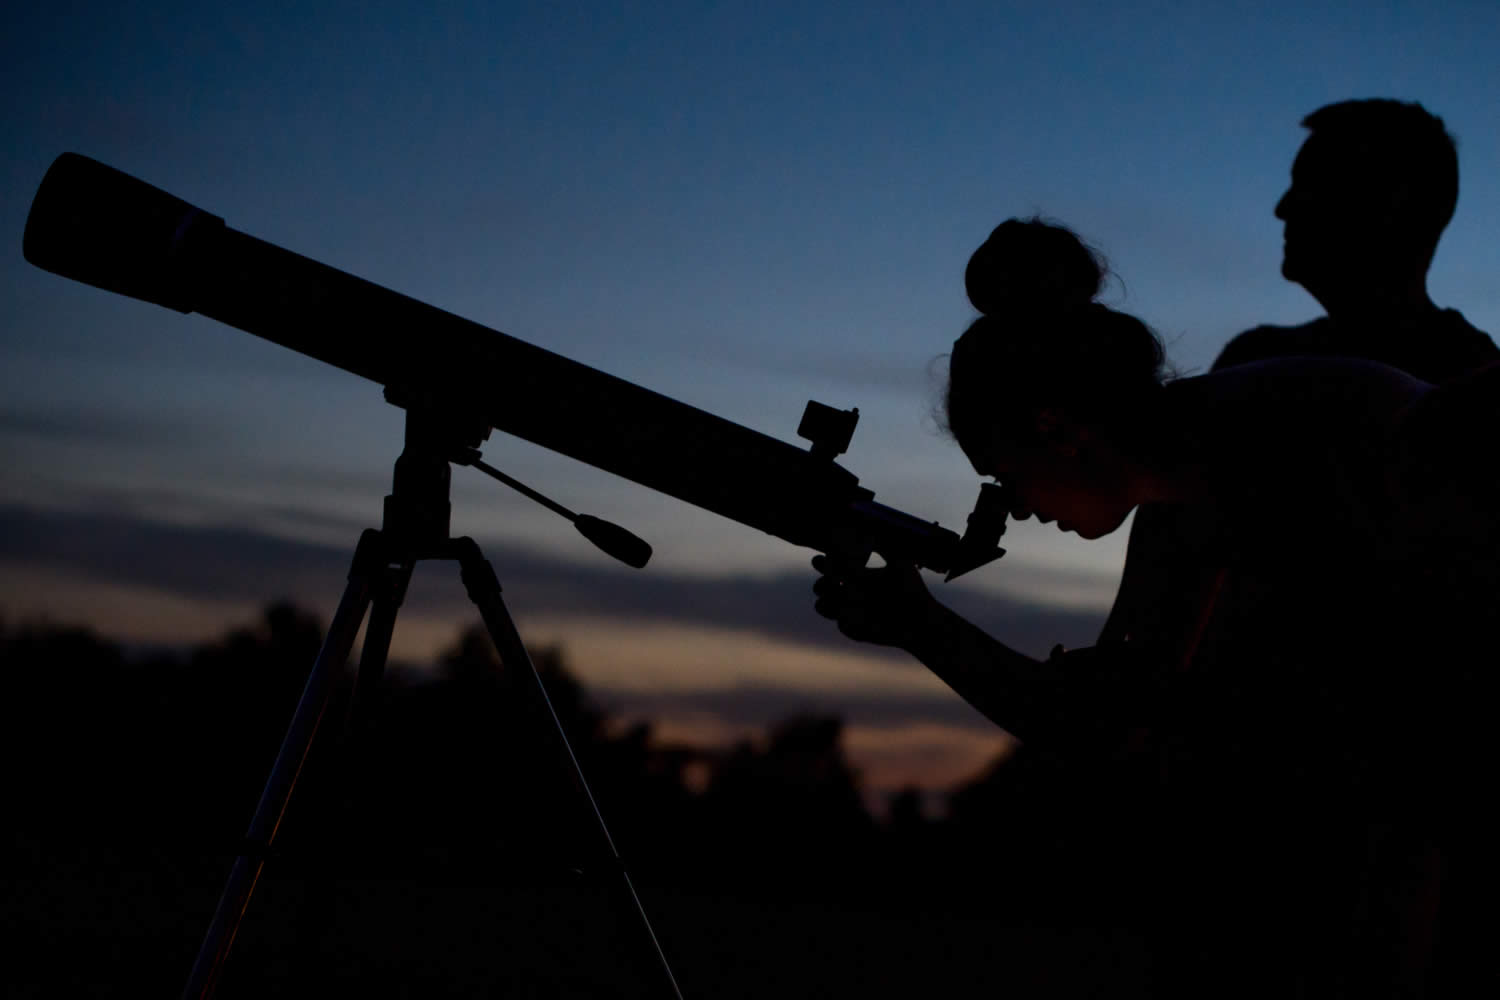


Setting up a Manual Equatorial Mount
There are broadly two types of telescope mount – Altitude-Azimuth (AltAzimuth or AltAz) and Equatorial (EQ). These correspond to the two systems of co-ordinates by which we locate stars, planets, galaxies etc (“objects”) in the sky.
Using AltAz, objects’ co-ordinates are based on how high the object is above the equator (Altitude) and how far it is around the 360° circle from North (Azimuth), both measured in degrees. However, if you can see the object or know where it is in relation to ones you can see, you don’t need to know its co-ordinates, you simply point the scope where you want it to look, using two dimensions: up and down, and side to side. As the minutes pass, your object will appear to have moved as the Earth will have turned, and you will therefore need to adjust your mount up or down a bit, and (probably) right a bit. This can be distracting, particularly if you want to study an object for more than a few minutes, but it’s intuitively easy to understand and this is why beginners usually start with an AltAz mount. Indeed many astronomers remain with the AltAz method and deal with the adjustment issue in other ways as they progress to more sophisticated scopes.
As the Earth turns, the Azimuth coordinate of your viewing object changes accordingly, and indeed because the Earth is on an angle, the Altitude coordinate does too. The Equatorial system of co-ordinates is based on the object’s celestial position, that is, where it is in the sky rather than in relation to the Earth: the Declination (Dec) measures how far away the object is from the celestial Pole (in degrees), whereas the Right Ascension (RA) describes how far along the celestial equator it is, in hours and minutes and using the vernal equinox as a start point. Thus the co-ordinates for all stars and deep-sky objects remain the same regardless of when or how long you look at them1. Planets and the moon do visibly travel in space, so you will need to look up their co-ordinates immediately before pointing your scope at these. Once an object is found in the scope, all we have to adjust for is the turning of the Earth – the angle of the scope is not affected, provided (and this is key) the Declination setting is correct. We therefore move the scope along the RA axis, and EQ mounts are fitted with “worm gears” which allow for easy tiny adjustments.
An EQ requires investment in the setup process but provides comfortable, straightforward viewing for long periods and (bonus for photographers)
keeps the object in the same plane in the scope – in an AltAz, even if you keep the object in view throughout, it will appear to turn slowly
through 360° in your eyepiece.
Actually, because the universe is expanding, the co-ordinates do change over time, but very very slowly. Always check the "epoch" of the co-ordinates
you’re using, if they’re more than 50 years old they will be misleading. We don’t need to worry about this during a night’s viewing though.
To make the EQ system of co-ordinates work with your scope, we need to calibrate the mount for its position relative to the celestial pole and
celestial equator. These notes assume you are in the northern hemisphere and will therefore align with the celestial north pole. There are six steps!
You will need:
 |
Your latitude in degrees. |
|
Where due North is from your location – you may need a compass. |
|
A spirit level or some way of ensuring your mount is level on its tripod or base. |
Assemble your mount but don’t put the optical tube assembly (OTA) on just yet.
Adjust the tripod legs until the mount is level. Your mount may have a spirit level in it, or you can buy a little one to keep on or with the mount. Pay attention to the
surface you are putting the tripod on – if grass, you may find the legs sink at different rates and the mount is no longer level. You can put blocks under the feet in this case.
While you’re levelling, you might want to make sure you “point” the tripod by positioning one of the legs due north or south – it can help later.
There will be a latitude scale and a clutch to loosen so that you can set the appropriate latitude for your location. Many EQ mounts have an adjustment tool as well for more accuracy. The scale isn't particularly precise so don't worry within a degree or two.

With the weights on, line up the mount so that it points due north. There will be a clutch underneath the mount so that you can move it clockwise or anticlockwise – this may be part of the clamp that attaches the mount to the tripod. There may be a viewing hole to help you do this, an arrow on the mount or you may have to do it purely by eye. If you have set your latitude correctly, the “polar axis” will point at the celestial north pole.
Your declination circle should read 90° at this point. Put the OTA onto the mount. Quickly recheck the polar alignment to ensure it is still correct – it is too
easy to knock it out of place while manipulating an unwieldy OTA, particularly in the dark.
You should balance the OTA. Some astronomers don’t bother with this. It is tempting to skip it because by now you are keen to get viewing. It’s up to you. If
you don’t balance it, you might find the scope moves while you’re observing, which is infuriating. On the upside, after a few goes you will probably learn the
optimal positions for the weights and rings.
To balance the telescope, first add all the stuff you intend to use – eg dew shield, average weight eyepiece. You’ll need to balance again if you add in a camera later.
Support the tube and unlock the Dec circle (it’s the one measured in degrees) so that the scope can move freely in the Dec axis, ie around the weight shaft. Move the tube all the way to one side, tentatively let it go (you don’t want it to crash!) and see if it moves. Move it all the way in the other direction, try again. Move it to the middle, try again. If you get any drift while it is not held, slide the tube along in its rings so that it is balanced in this plane. Once it shows no movement, tighten the clutch again.
Again, support the tube and unlock the RA clutch (for the circle measured in hours). Try the tube in different positions and see how/whether it moves when left alone. Move the weight(s) to balance it, when it’s right, tighten the clutch again.
Line up the OTA so that it sits along the Polar Axis of the mount. In theory, it should be pointing almost straight at Polaris, which is at about 89°15’N.
Fit an eyepiece with a wide field-of-view (25mm minimum) - If Polaris is not visible in your eyepiece, something is adrift.
If it is there (hurray!), check the Dec circle, it should read near to 90°. Note: you shouldn’t be able to move the Dec circle without moving the OTA. Use
the worm gears to adjust Polaris into the centre of the view. The Dec circle should now read 89°.
With Polaris in the centre of the view, as a final check loosen the RA clamp and move the scope around the RA axis. You should see that Polaris remains in the
centre of the view. If it doesn’t, you’re looking at something else!
Without moving the scope, set the RA circle to Polaris’ RA, currently 2 hours 51 minutes. Check your documentation that came with the scope as to which scale
to use on the RA, it is usually the upper one in the northern hemisphere. Almost finished!
The proof of the pudding is in the eating!
|
Find a bright object in the sky that you know the name of - not Polaris! |
|
Find out its RA and Dec. Stars can be looked up on Wikipedia. You’ll need to use something else for planets – Heavens Above or Stellarium for example – and you'll need to check its co-ordinates each session as these heavenly bodies move through space. |
|
Make sure Polaris is in the centre of the eyepiece, and that your RA circle is set to its RA. |
|
Move the scope around the RA and Dec circles to match the co-ordinates of the object. Hopefully you can now see the object in your finder scope, and even in the eyepiece. If you can, congratulations! You’ve done it! |
|
Centre the object if necessary by using the worm gears. You can now observe your object with fine adjustments using the RA worm gear as the Earth turns. Some mounts will keep the RA circle set to the correct reading, some will move the pointer along the RA. In this latter case you must reset the circle to the current object’s RA before moving to another object. |
Now you are ready to go. You'll use the setting circles to find objects you can't see with your own eyes. If you can see the object, unlock both the RA and Dec clutches, move the tube so that you can see the it in the centre of the eyepiece, with the help of your finder scope. Then lock the circles and track with the RA worm gear.
1) |
The Dec circle is the really important one. If the Dec circle reads correctly (and you’re at the right latitude), your object will be somewhere on the RA. |
2) |
Before you leave an object, without moving the scope, make sure you reset the RA circle to the object’s RA (look it up again if you’ve been observing a planet for any length of time, because it will have moved). Then move the scope along the Dec and RA circles to the new object. |
If you can, look at all of these, they each give a little bit of info the others don’t.
Astro-Baby - A web page explaining the process.
Heavens Above - Good for basic info such as AltAz and RA / Dec co-ordinates, first class
for data on man-made space objects including ISS. I strongly recommend you sign up for a free account and enter your usual location, to get custom information quickly.
Stellarium – An excellent fully-featured planetarium software for Windows, Mac, Linus,
iOS, Android. Free of charge. Use it for planning sessions, identifying an unknown object or looking up an object’s co-ordinates when you’re out.
An EQ mount takes a little longer to get set up but is delightful to use, and its extra sophistication will pay off as your hobby develops. Keep going!


Achievement of the quality mark by UK Astronomy demonstrates to funders and other stakeholders their commitment to excellence.
Ian McLintock,
Founder,
Charity Excellence.
© Copyright 2021 - , UK Astronomy, All rights reserved.
UK Astronomy is a registered charity in England and Wales (1190172)
and a company Limited by Guarantee (10276672)
Registered Office: 3 Pleshey Close, Milton Keynes, MK5 6EP
Website Designed & Maintained by Visual Interactive
